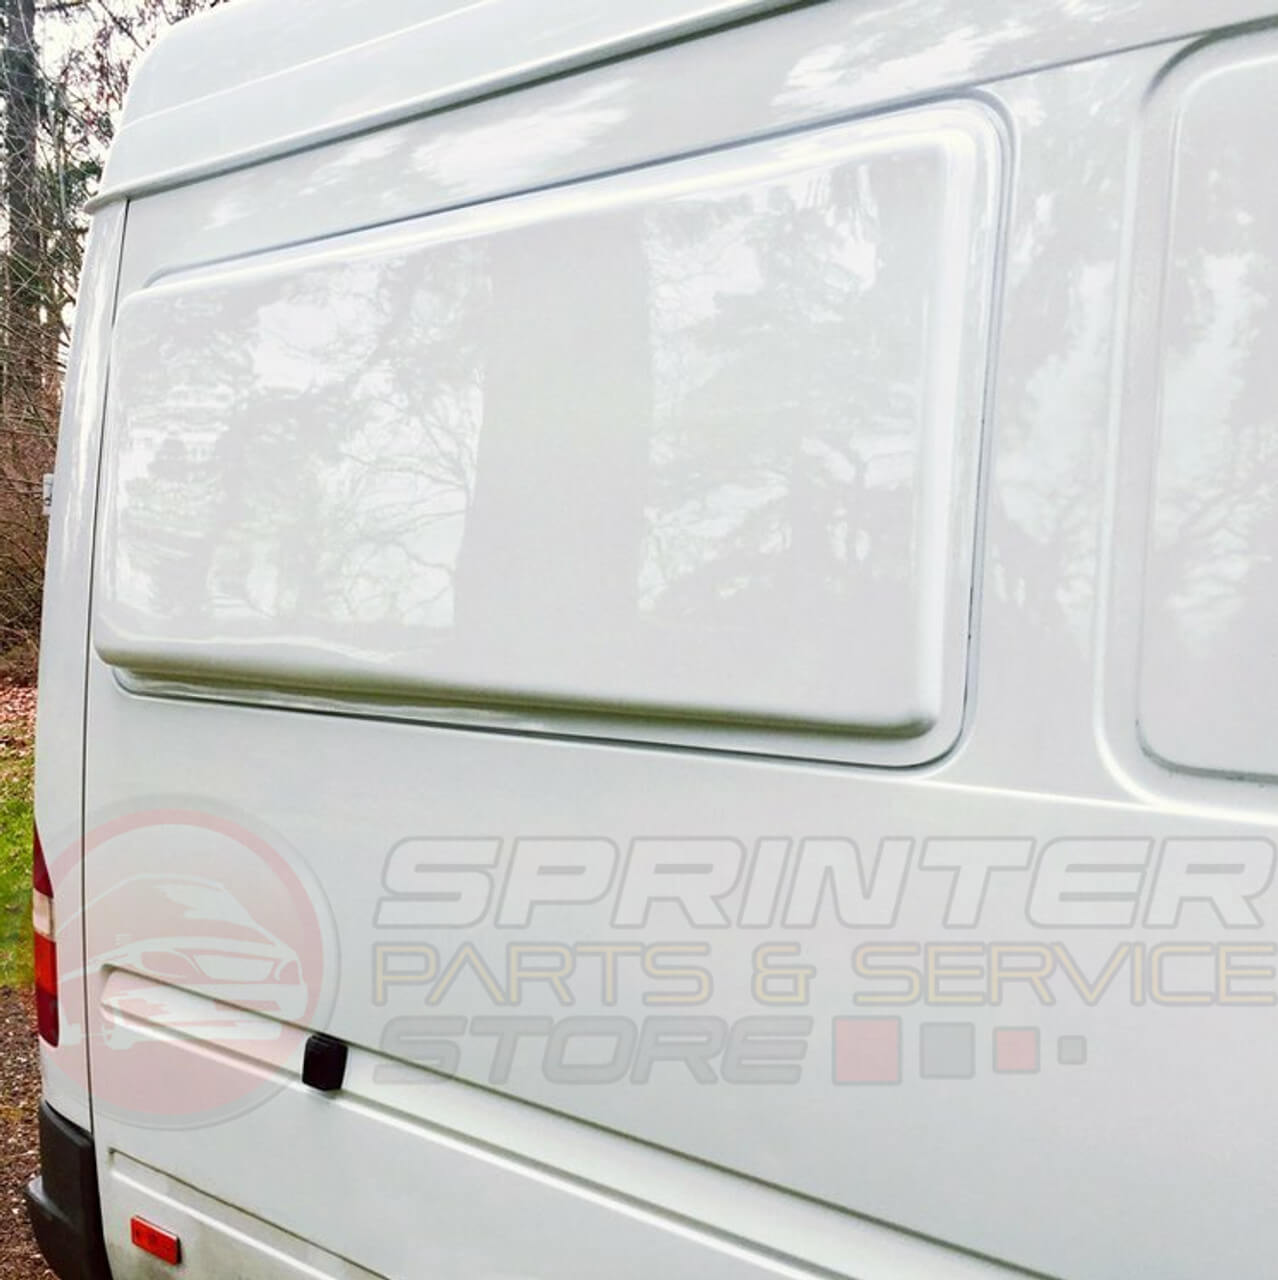
Upgrading your T1N Sprinter Van with flares not only enhances your van’s aesthetics but also maximizes interior sleeping space. Whether you're gearing up for a cross-country adventure or just looking to make your van more versatile, these flares are the perfect addition.
Tools and Materials Needed
- Router
- Wooden block for test fitting
- Measuring tape
- Paint (color-matched)
- Glue or adhesive for installation
- Cutting tools for van sheet metal
- Safety gear (gloves, goggles)
Step-by-Step Installation Guide
Step 1: Build a Test Block
Create a test block from wood to match the van's front leading edge where the flare will attach. This allows you to set your router for the correct depth and width, ensuring a precise fit.

Step 2: Prepare the Router
- Adjust the router to remove material from the flare’s front edge, leaving about 1/8” of material.
- Rout small sections at a time, testing the fit frequently.
- Continue until the flare fits snugly against the van.

 Step 3: Paint the Flare
Once the flare fits perfectly:
- Send it out for professional paint matching for a seamless look.
- Important: To secure the flare, a piece of the van’s sheet metal must be removed. Perform a final test fit only after cutting the van.
Step 4: Position and Secure the Flare
- Mark the flare’s length on your van, leaving 2-3” at the front and rear for a glue surface.
- Ensure the glue flange sits inside the channel, with the front edge properly notched.
- Use high-strength adhesive to secure the flare in place.


Why Add Flares to Your T1N Sprinter?
- Increased Interior Space: Perfect for sleeping sideways or adding extra room for gear.
- Custom Fit: These flares are designed specifically for the T1N Sprinter Van (140” wheelbase), ensuring a seamless installation.
- Improved Versatility: Whether you're an overlander, camper, or weekend warrior, these flares enhance your van's usability.
FAQs
Can I install this myself, or do I need professional help?
This installation can be completed as a DIY project if you have the right tools and experience with vehicle modifications. For best results, consult a professional if unsure.
How long does the installation take?
With proper tools and preparation, the process can take approximately 3-5 hours. This may vary depending on your skill level.
Will the flares impact the van’s aerodynamics?
The flares are aerodynamically designed and won’t significantly affect fuel efficiency.
Maintenance Tips
- Regularly inspect the adhesive to ensure the flares remain secure.
- Clean the flares with mild soap and water to maintain their finish.
- Avoid using harsh chemicals or abrasive cleaning tools.
Recommended Accessories
- Weather Seals: For added protection against the elements.
- Trim Tools: To make installation smoother.
- Other Upgrades: Check out our van shelving and roof racks for more customization options.
Upgrade Your Van Today!
Ready to make your T1N Sprinter the ultimate adventure van? These flares are custom-designed for the 140” wheelbase model and are available now. Transform your space and start your next journey today!


