Sprinter Van Airbag Suspension System Installation Instructions
(Sprintek 2007 and Newer 2500/3500 Airbag Installation Guide)
Preparation:
-
Lift and Support: Elevate the rear end of your Sprinter and securely support it using appropriate lifting equipment. Allow the rear axle to settle, then remove the rear tires and prepare for assembly, working on one side at a time.
-
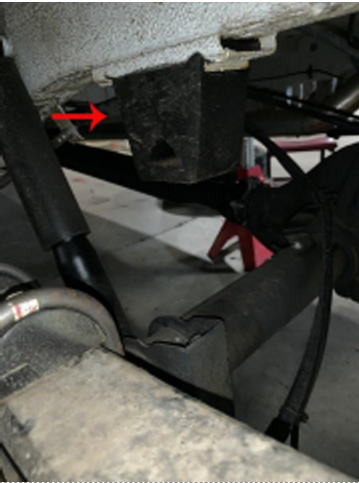
Remove Factory Components: Using a prybar or large pliers, remove the top and bottom factory bump stops as indicated in Figure 1.
-
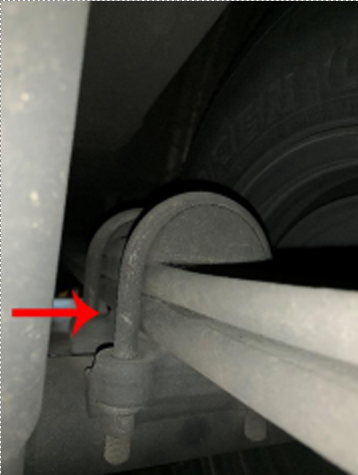
Axle and Leaf Spring Preparation: Support the axle with a jack stand, remove the leaf spring U-bolts as shown in Figure 2, and lower the axle for further assembly.
Installation:
4. Avoid Sealants: Do not use any sealant, silicone, urethane, grease, or oil when assembling the airbag kit. Ensure the airbag components fit tightly but without over-tightening. A small gap should remain between the top bracket and silver plate of the airbag.
-
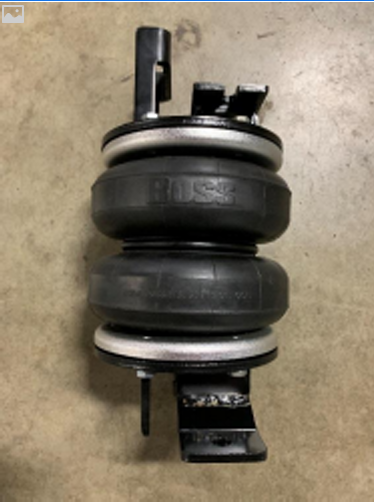
Align and Secure Brackets: Refer to Figure 3. Align the welded “goal post” supports so they are inline. The top bracket and welded semicircle support must be inside the frame rails and aligned vertically.
-
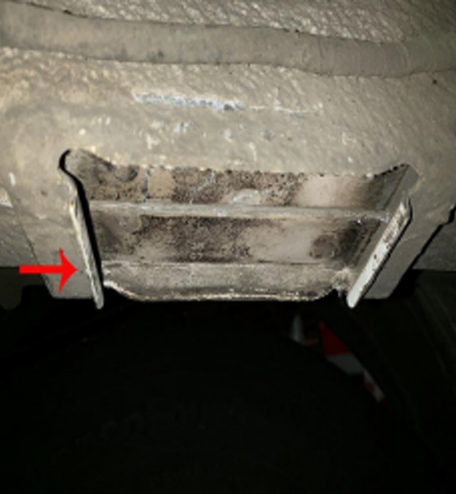
Airbag Assembly: Insert the rectangular fastening clip into the top bump stop slot as shown in Figure 4. Ensure the top bracket and fastening plate are flush and secure all included bolts and washers.
-
Check for Loose Bolts: Ensure no bolts are left loose to prevent shift and failure. Airbags should not touch or rub against any part of the vehicle and must be kept away from extreme heat sources like the exhaust.
-
Testing and Final Adjustments: Fully assemble the airbag system and test by tightening all bolts. If issues arise with the airbag positioning, adjust and retighten as needed.
-
Leaf Spring Reinstallation: Once the airbag is securely installed, reinstall the leaf springs using the U-bolts, tightening to approximately 40 ft-lbs. Re-torque the U-bolts after 500 miles of driving.
-
Air Line Installation: Cut the air line using a sharp knife, razor blade, or pruning shears ensuring angled cuts to seal properly. Attach the airline to the fitting, secure it, and ensure it is not pinched or restricted.
Caution: Do not overload your vehicle. Check and ensure proper load distribution and compliance with vehicle load capacity.
For any additional information, call our customer support team @ 503-427-2270.
Figure 1.

Figure 2.

Figure 3.

Figure 4.
